Live Tech Wifi Adapter Driver
Published:
August 16th, 2023
Updated:
August 16th, 2023
Developer:
Version:
rev-f1
Platform:
Live Tech Wifi Adapter Driver
Table of Contents
How to Fix a TP-Link Wi-Fi Adapter Driver?
If your USB Wi-Fi adapter is not working, you can try a few different ways to fix it. One way is to run a troubleshooter. To do this, press Windows + X, then click Device Manager. In the Network Adapters section, right-click the wireless network adapter that is giving you issues and select Troubleshoot. So, the latest version of the Live Tech Wifi Adapter Driver is provided here to download.
1. Download and Installation of Live Tech Wifi Adapter Driver:
Over the course of using a computer. It’s common to misplace or accidentally throw out the installation disks that came with the hardware. This can cause problems when you want to install new hardware. Like a wireless network adapter, that requires drivers to function. Fortunately, Windows allows you to set it up to automatically download and install the latest driver software for your new hardware.
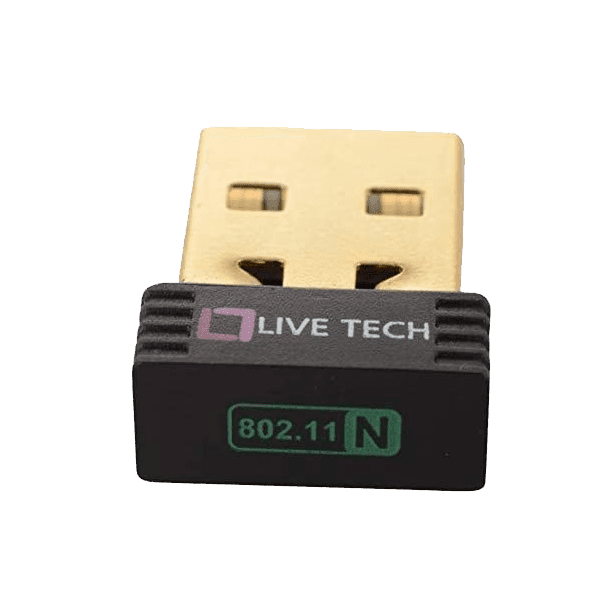
- Identify Your Adapter Model: Find the exact model name or number of your Live Tech WiFi adapter. This information is usually printed on the adapter itself or its packaging.
- Download the Driver: In the support section, search for your adapter’s model number. And download the latest driver available for your version of Windows (32-bit or 64-bit).
- Extract the Driver Files: After downloading the driver, locate the downloaded file (usually a zip file) and extract its contents to a folder on your computer.
- Device Manager: Right-click on the Windows Start button and select “Device Manager.” In the Device Manager window, look for the “Network adapters” section.
- Install the Driver: Right-click on your WiFi adapter (it might have a generic name or be listed as an “Unknown device”) and select “Update driver.”
- Browse My Computer for Drivers: Choose the option “Browse my computer for drivers.”
- Locate the Driver Files: Click on “Let me pick from a list of available drivers on my computer.” Then, click the “Have Disk” button.
- Install the Driver: Browse to the location where you extracted the driver files in Step 4. Select the appropriate driver file (usually with a “.inf” extension) and click “Open.” Follow the on-screen instructions to install the driver.
- Complete Installation: Once the driver is installed, restart your computer to complete the installation process.
- Verify Installation: After your computer restarts, check the Device Manager again to ensure that the driver is correctly installed and the WiFi adapter is recognized without any warning signs.
More Instructions:
Keep in mind that the steps provided are general guidelines and may not directly apply to the Live Tech WiFi adapter you have. Always refer to the official documentation provided by Live Tech or the manufacturer for accurate and up-to-date instructions.
Start by connecting your wireless adapter to a USB port or sliding it into the PC card slot on your laptop. Launch Device Manager and expand the Network Adapters category. Click right on your wireless adapter and select “Properties.” Now you should see an option to “Delete the driver software for this device”; click it and follow the prompts to remove the current software.
If you’re having trouble finding the correct drivers for your system. You can try running a utility like Driver Easy. This program can scan your computer and identify which drivers are outdated or missing. And then automatically download and install the correct versions.
Another option is to use a professional driver updater application like Advanced Driver Updater. This app can also scan your computer for outdated or problematic drivers and help you fix them. This tool offers a free version with limited functionality. As well as a Pro version that comes with a 60-day money-back guarantee and round-the-clock technical support.
3. Security:
Security measures include a firewall, which keeps other users off of your network. So, this keeps your device from being accessed by hackers and other malicious software. However, you should know that it’s still possible for someone to hack your system if they have access to your wireless connection.
You should also use a strong password for your network connection. This helps mitigate dictionary attacks against LEAP. You can find more information on LEAP vulnerabilities and how to prevent them here.
4. Warranty:
So, this Product comes with a Limited Lifetime Warranty, subject to the limitations and exclusions stated below.
TP-Link reserves the right to interpret, modify and amend this Warranty Policy at any time without notice. Please contact us if you have any questions regarding this Warranty Policy.
The second to the fourth digits in the Serial Number (SN) indicate the year and month of manufacture. For example, an SN of 2171XXXXXXXX indicates the product was manufactured in January 2017.
This Warranty Policy gives you specific legal rights. And you may also have other rights that vary from state to state or jurisdiction to jurisdiction. So, the seller, desert cart, is a trustworthy online store that has been selling products to customers in 164 countries since 2014. The site has several positive reviews on portals like Trustpilot and carries out strict anti-fraud checks to ensure the safety of its customers. Additionally, it uses an upgraded security system to protect customer information and transactions. It also provides a safe shopping experience by using encrypted HTTPS connections and software systems. It also has a team of professionals who are ready to help you with any problems you might have.